
 Facebook
 Instagram
 X (Twitter)
 TikTok
 Pinterest
 YouTube
 LinkedIn
 Threads
 Google Business Profile
 Telegram
 Discord
Getting started
Yoomru opens on the Home page: a setup guide walks you through the first steps, and once you're set up the page becomes a mini-dashboard, upcoming posts, published-this-month and failed-post counters, plus your latest activity.
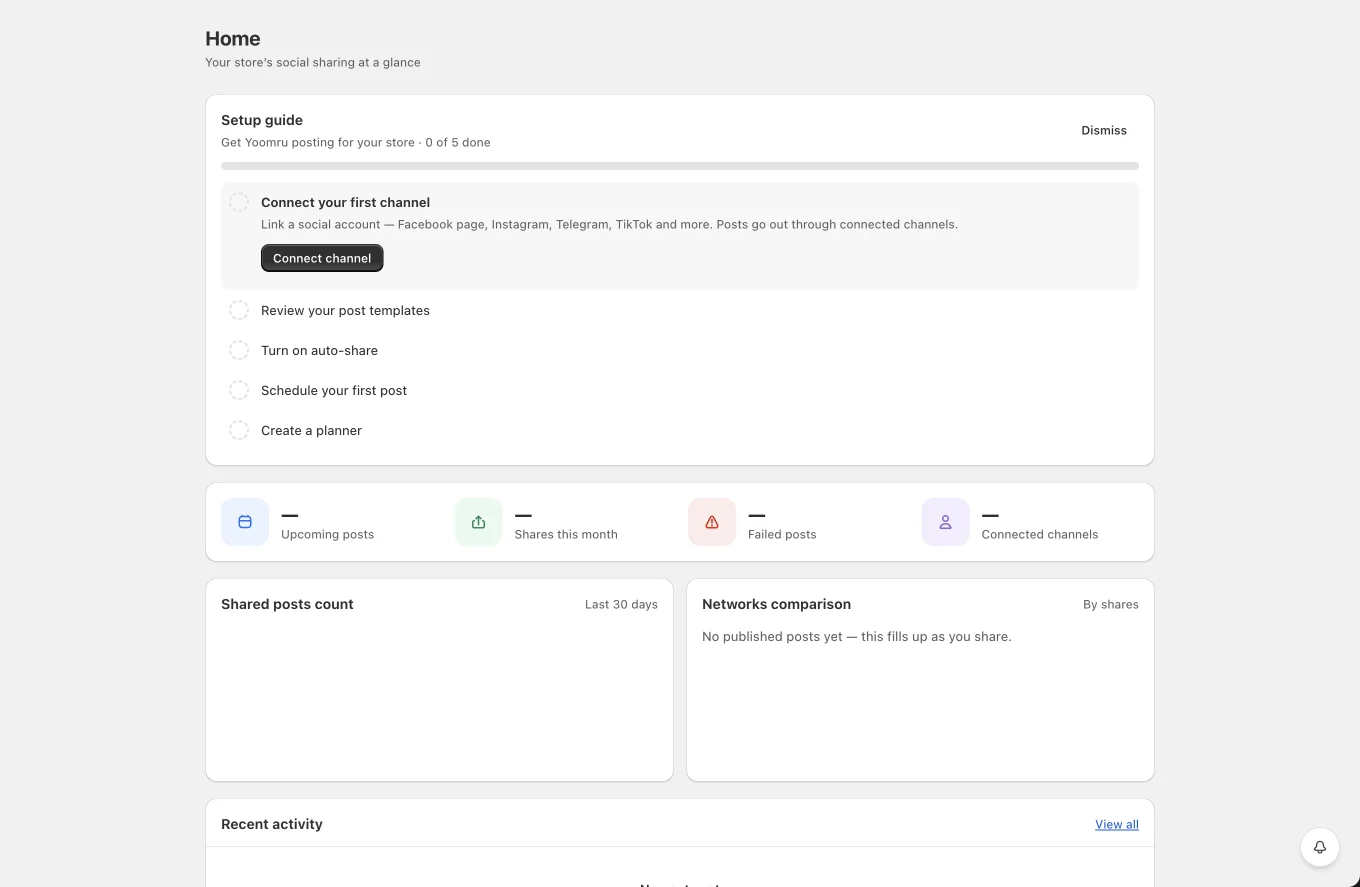
The setup guide tracks five steps and ticks them off automatically as you complete them (dismiss it anytime with Dismiss):
- Connect your first channel, Channels → Add channel.
- Review your post templates, Settings; each network has a shortcode-driven default. Mark this one done yourself.
- Turn on auto-share, enable "Auto-share to this channel" on a channel.
- Schedule your first post, Calendar → New post.
- Create a planner, keeps re-sharing your catalog on a schedule.
In more detail:
- Install Yoomru from the Shopify App Store and open it from your admin. (The app only works embedded in the Shopify admin, if you open it in a plain browser tab it shows a "Open Yoomru from your Shopify admin" notice.)
- Connect a channel: go to Channels → Add channel and connect at least one social account.
- Review network defaults: Settings → pick each network you use and adjust its post template, media and link options. Sensible defaults are prefilled, for example Instagram posts
{product_name} - {product_price}plus your product tags as hashtags. - Turn on auto-share per channel: open a channel from the Channels list and enable Auto-share to this channel. From now on, products that go live in your store are posted there automatically.
- Optionally create a Planner to keep re-sharing your catalog on a schedule, or use Calendar → New post to compose posts by hand.